
Using the Advanced Campaign Planner
The Advanced Campaign Planner allows you to create multiple plans within one campaign. The benefit of this is that you could select different templates to be sent to different groups or you can set different days/times for the templates to be sent.
1. Navigate To Phishing
Before you can start using the advanced campaign planner, you will need to Navigate to phishing
Note: Before creating a phishing campaign, please make sure you have verified your target domain. If you have not set up your target domain; take a look at our guide Adding A Target Domain.
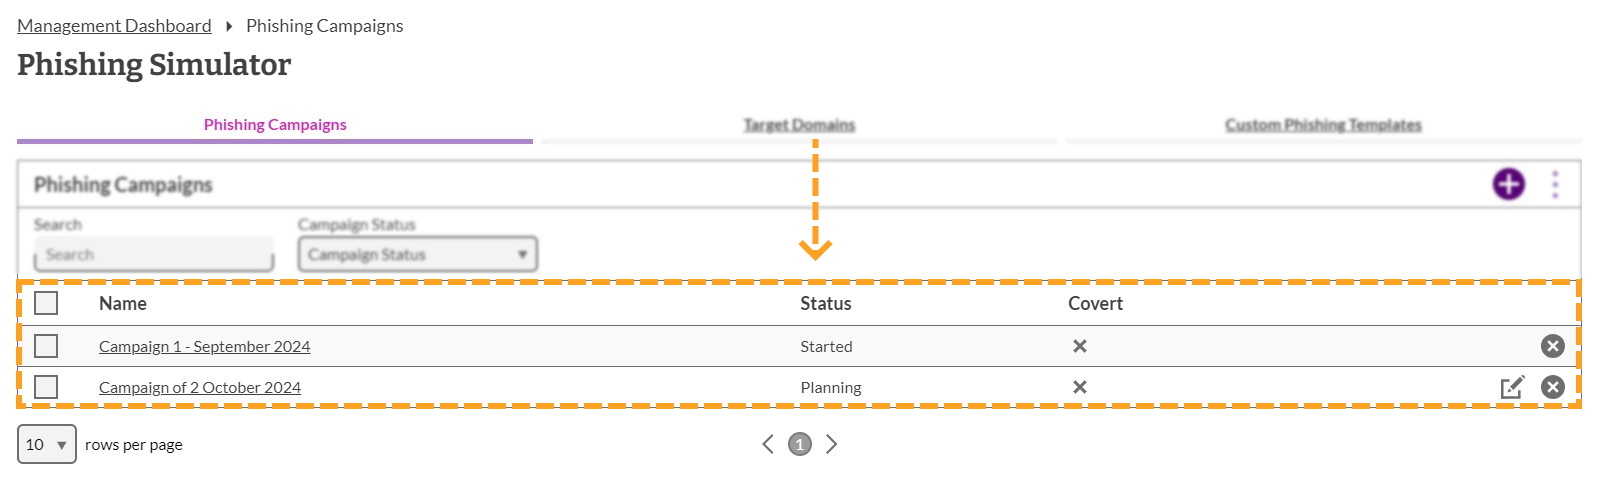
2. Phishing Simulator
In the Phishing Simulator, you will see a table showing phishing campaigns that have been created, as well as their status and action icons.
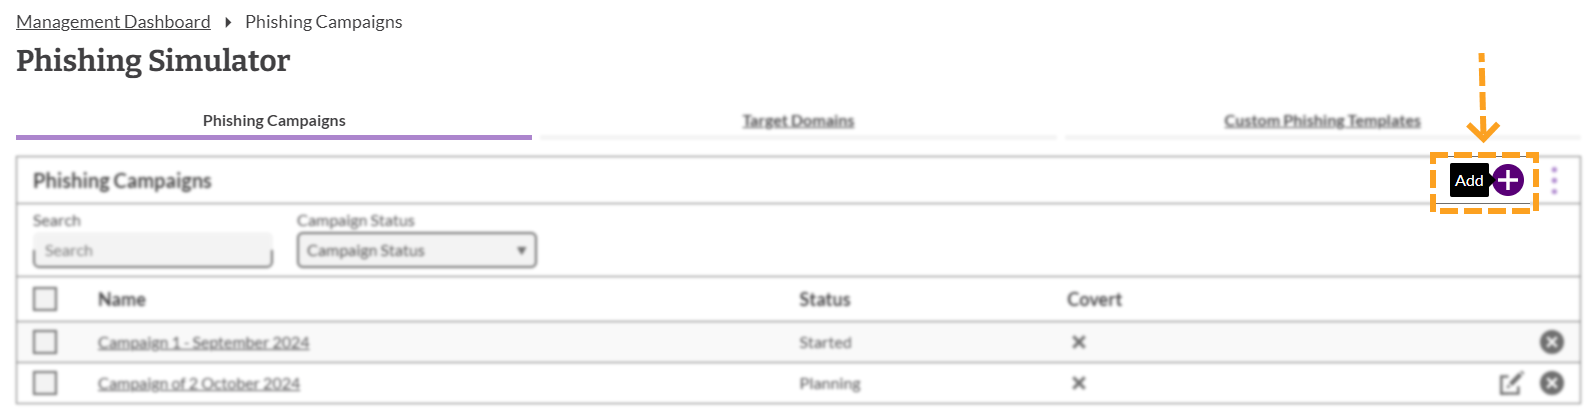
3. Add A Campaign
First you will need to create a campaign before you can get to the advance campaign planner. To add a campaign, click on the 'Add' button that can be found in the top right corner of the phishing simulator.
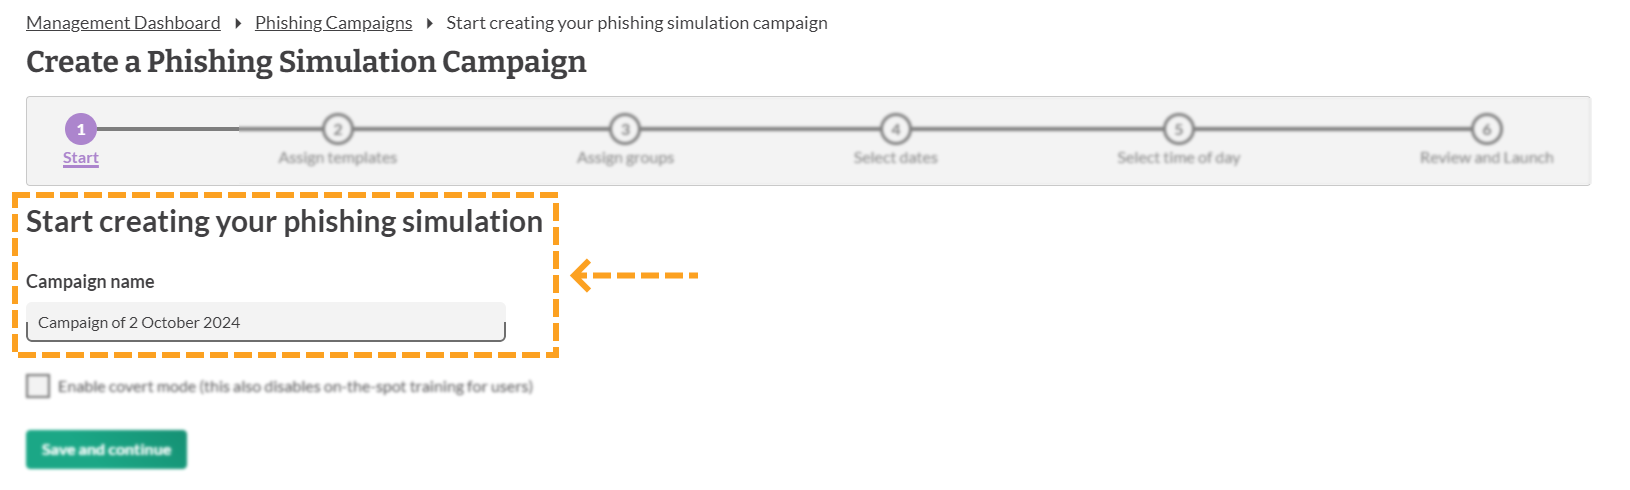
4. Campaign Name
A campaign name will be automatically added. You can either use this or you can enter a name of your choice for the phishing campaign.
After you have decided the campaign name, click Save and continue to move onto the next step.
6. Switching to the Advanced Campaign Planner
You will then be presented with the "Create A Phishing Simulation Campaign" screen. To proceed with using the Advanced planner click the link that can be found at the top of the page.

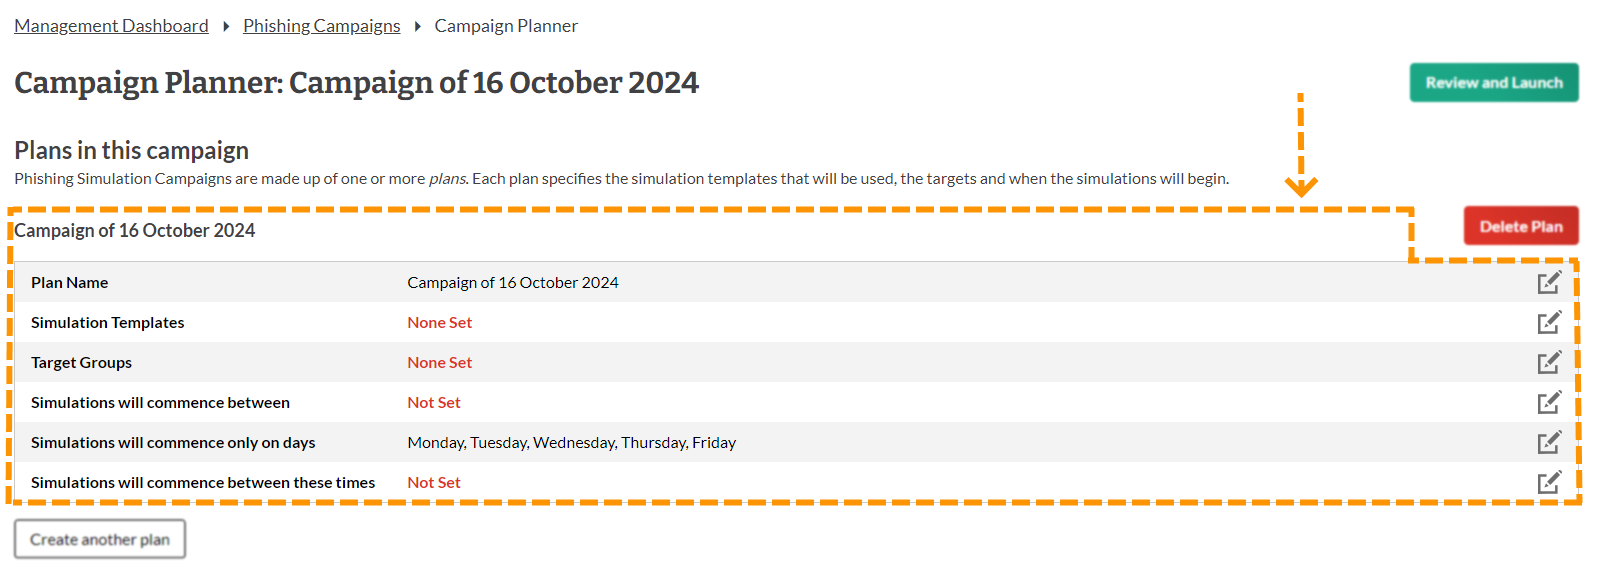
7. Using the Advanced Campaign Planner
Once you have clicked the 'Advance planner' link you will be presented with a view of all plans associated with this campaign. From this page you can add, delete and edit these plans.
Each plan defines a selection of templates, which will be sent to the specified user groups at the specified time. Initially there will be a single, unfinished plan. The campaign cannot be launched until all plans are in a finished state.
The initial plan that you will be presented with, will need to be put together just as you would with a singular campaign. If you have not put a campaign together before using our Phishing Wizard, take a look at our guide Creating A Phishing Campaign.
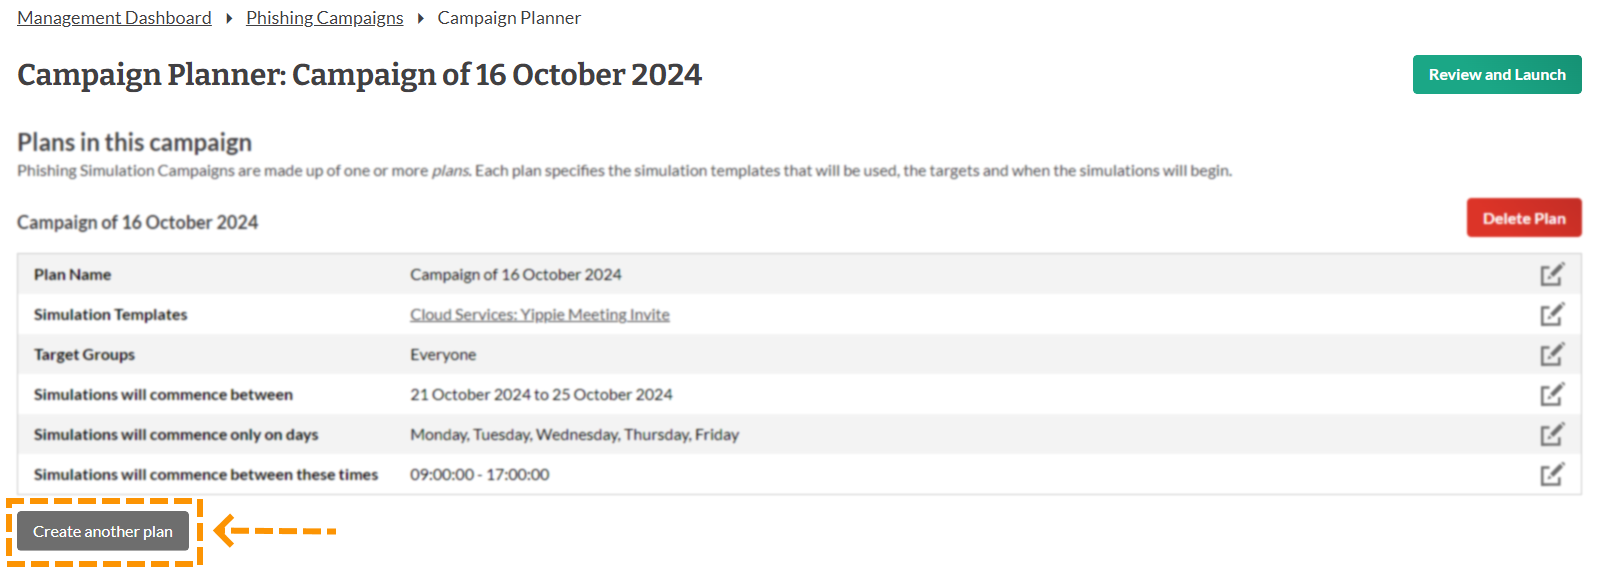
Creating another Plan
To start creating another plan, click the Create another plan button. You will then need to go through the same steps as before.
Deleting a Plan
Plans can be deleted by clicking the Delete plan button.
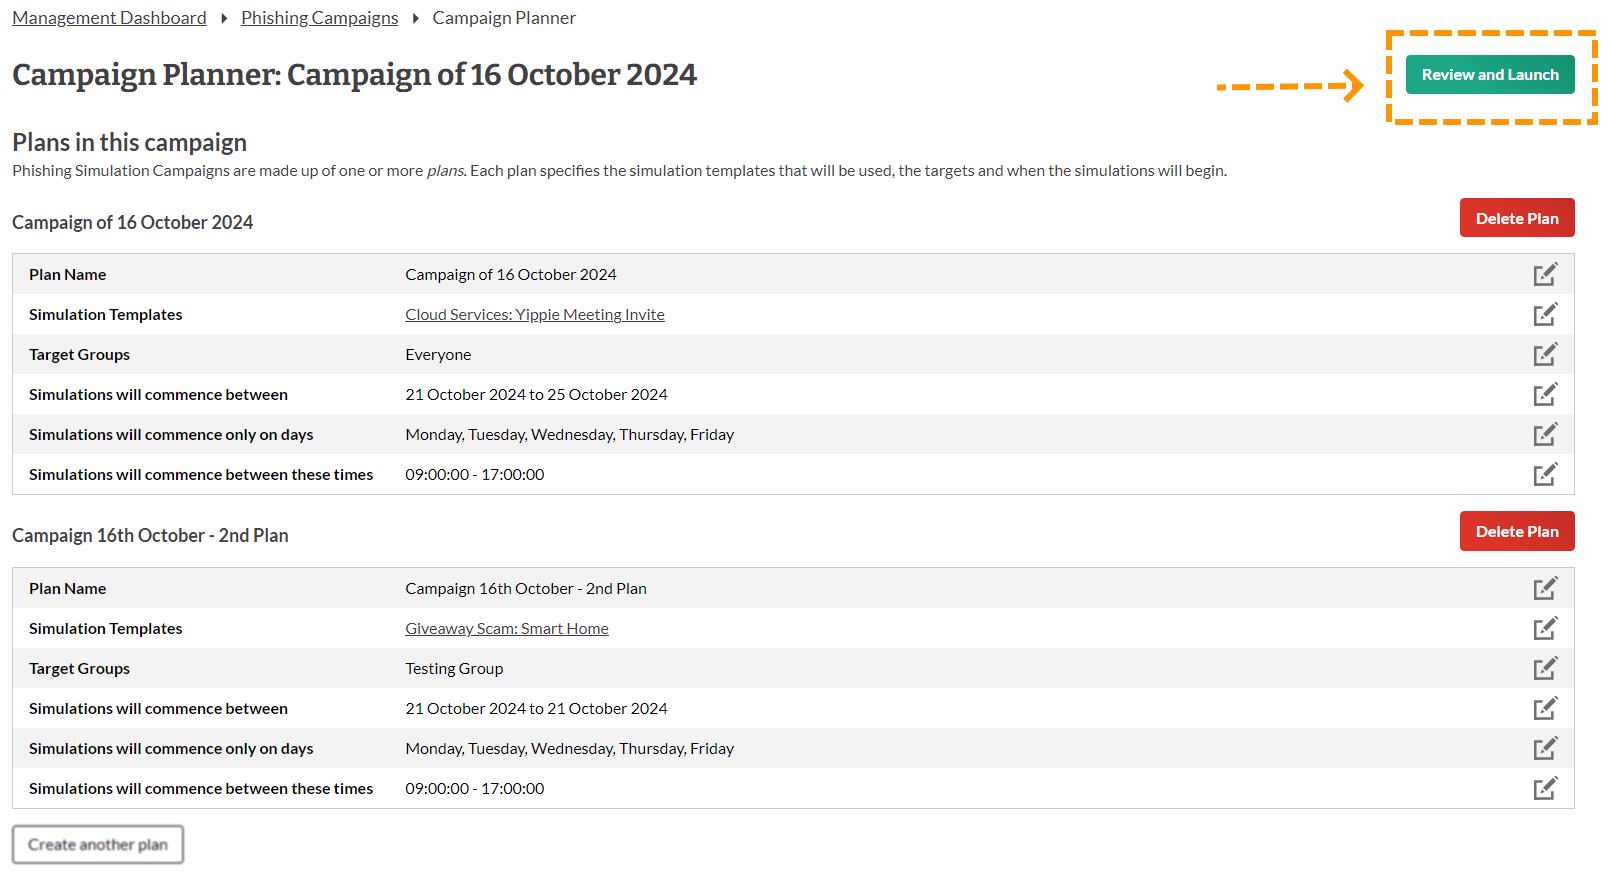
Review and Launch
Once you have created all the plans that you would like, go ahead and click the Review and Launch button that can be found in the top right hand corner.
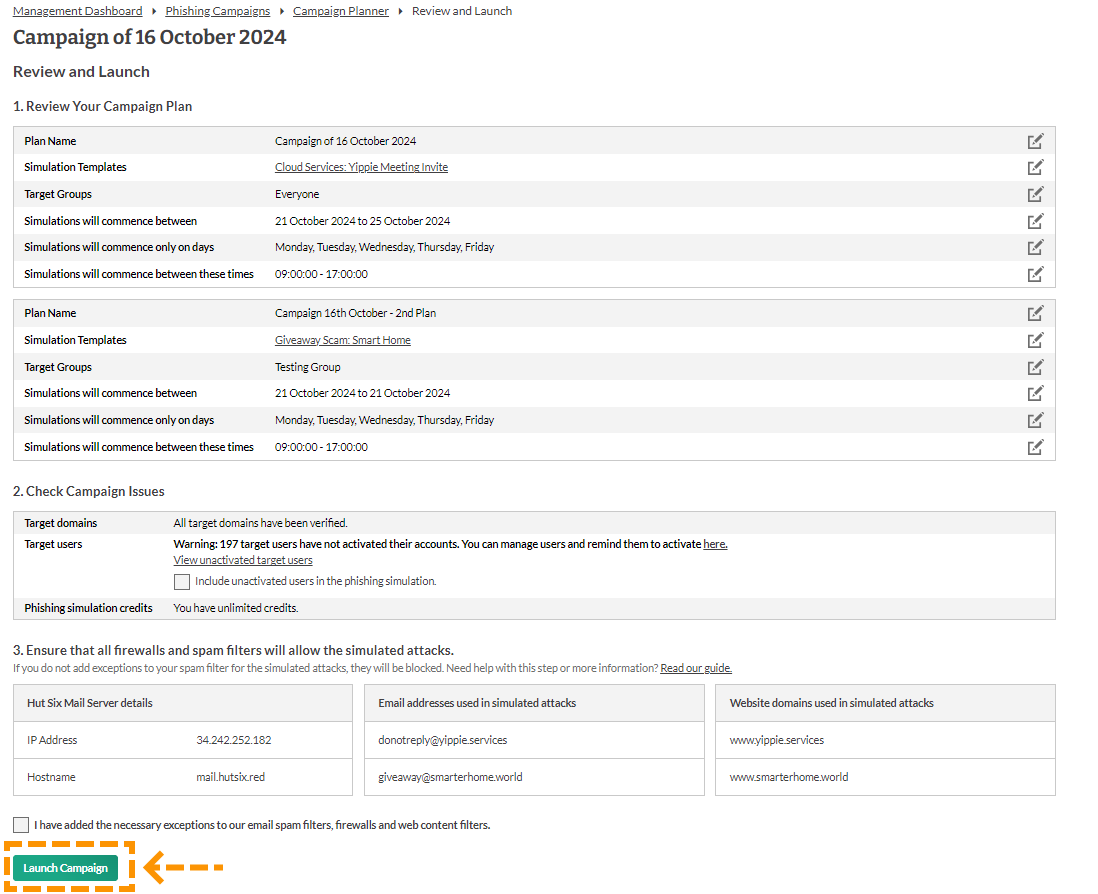
After you click the review and launch button you will be presented with your final plans along with a check for unactivated users (if any) and a check to ensure the templates have been whitelisted.
Note: If the templates have selected have not yet been whitelisted then please take a look at our phishing technical requirements guide on how to do this
Once you are happy with your plan, please click Launch Campaign
Enjoyed using our product?
Help us out by leaving a review for on Gartner Peer Insights!
It only takes 5 minutes of your time and every review helps us immensely to reach new clients. Thank you so much.